
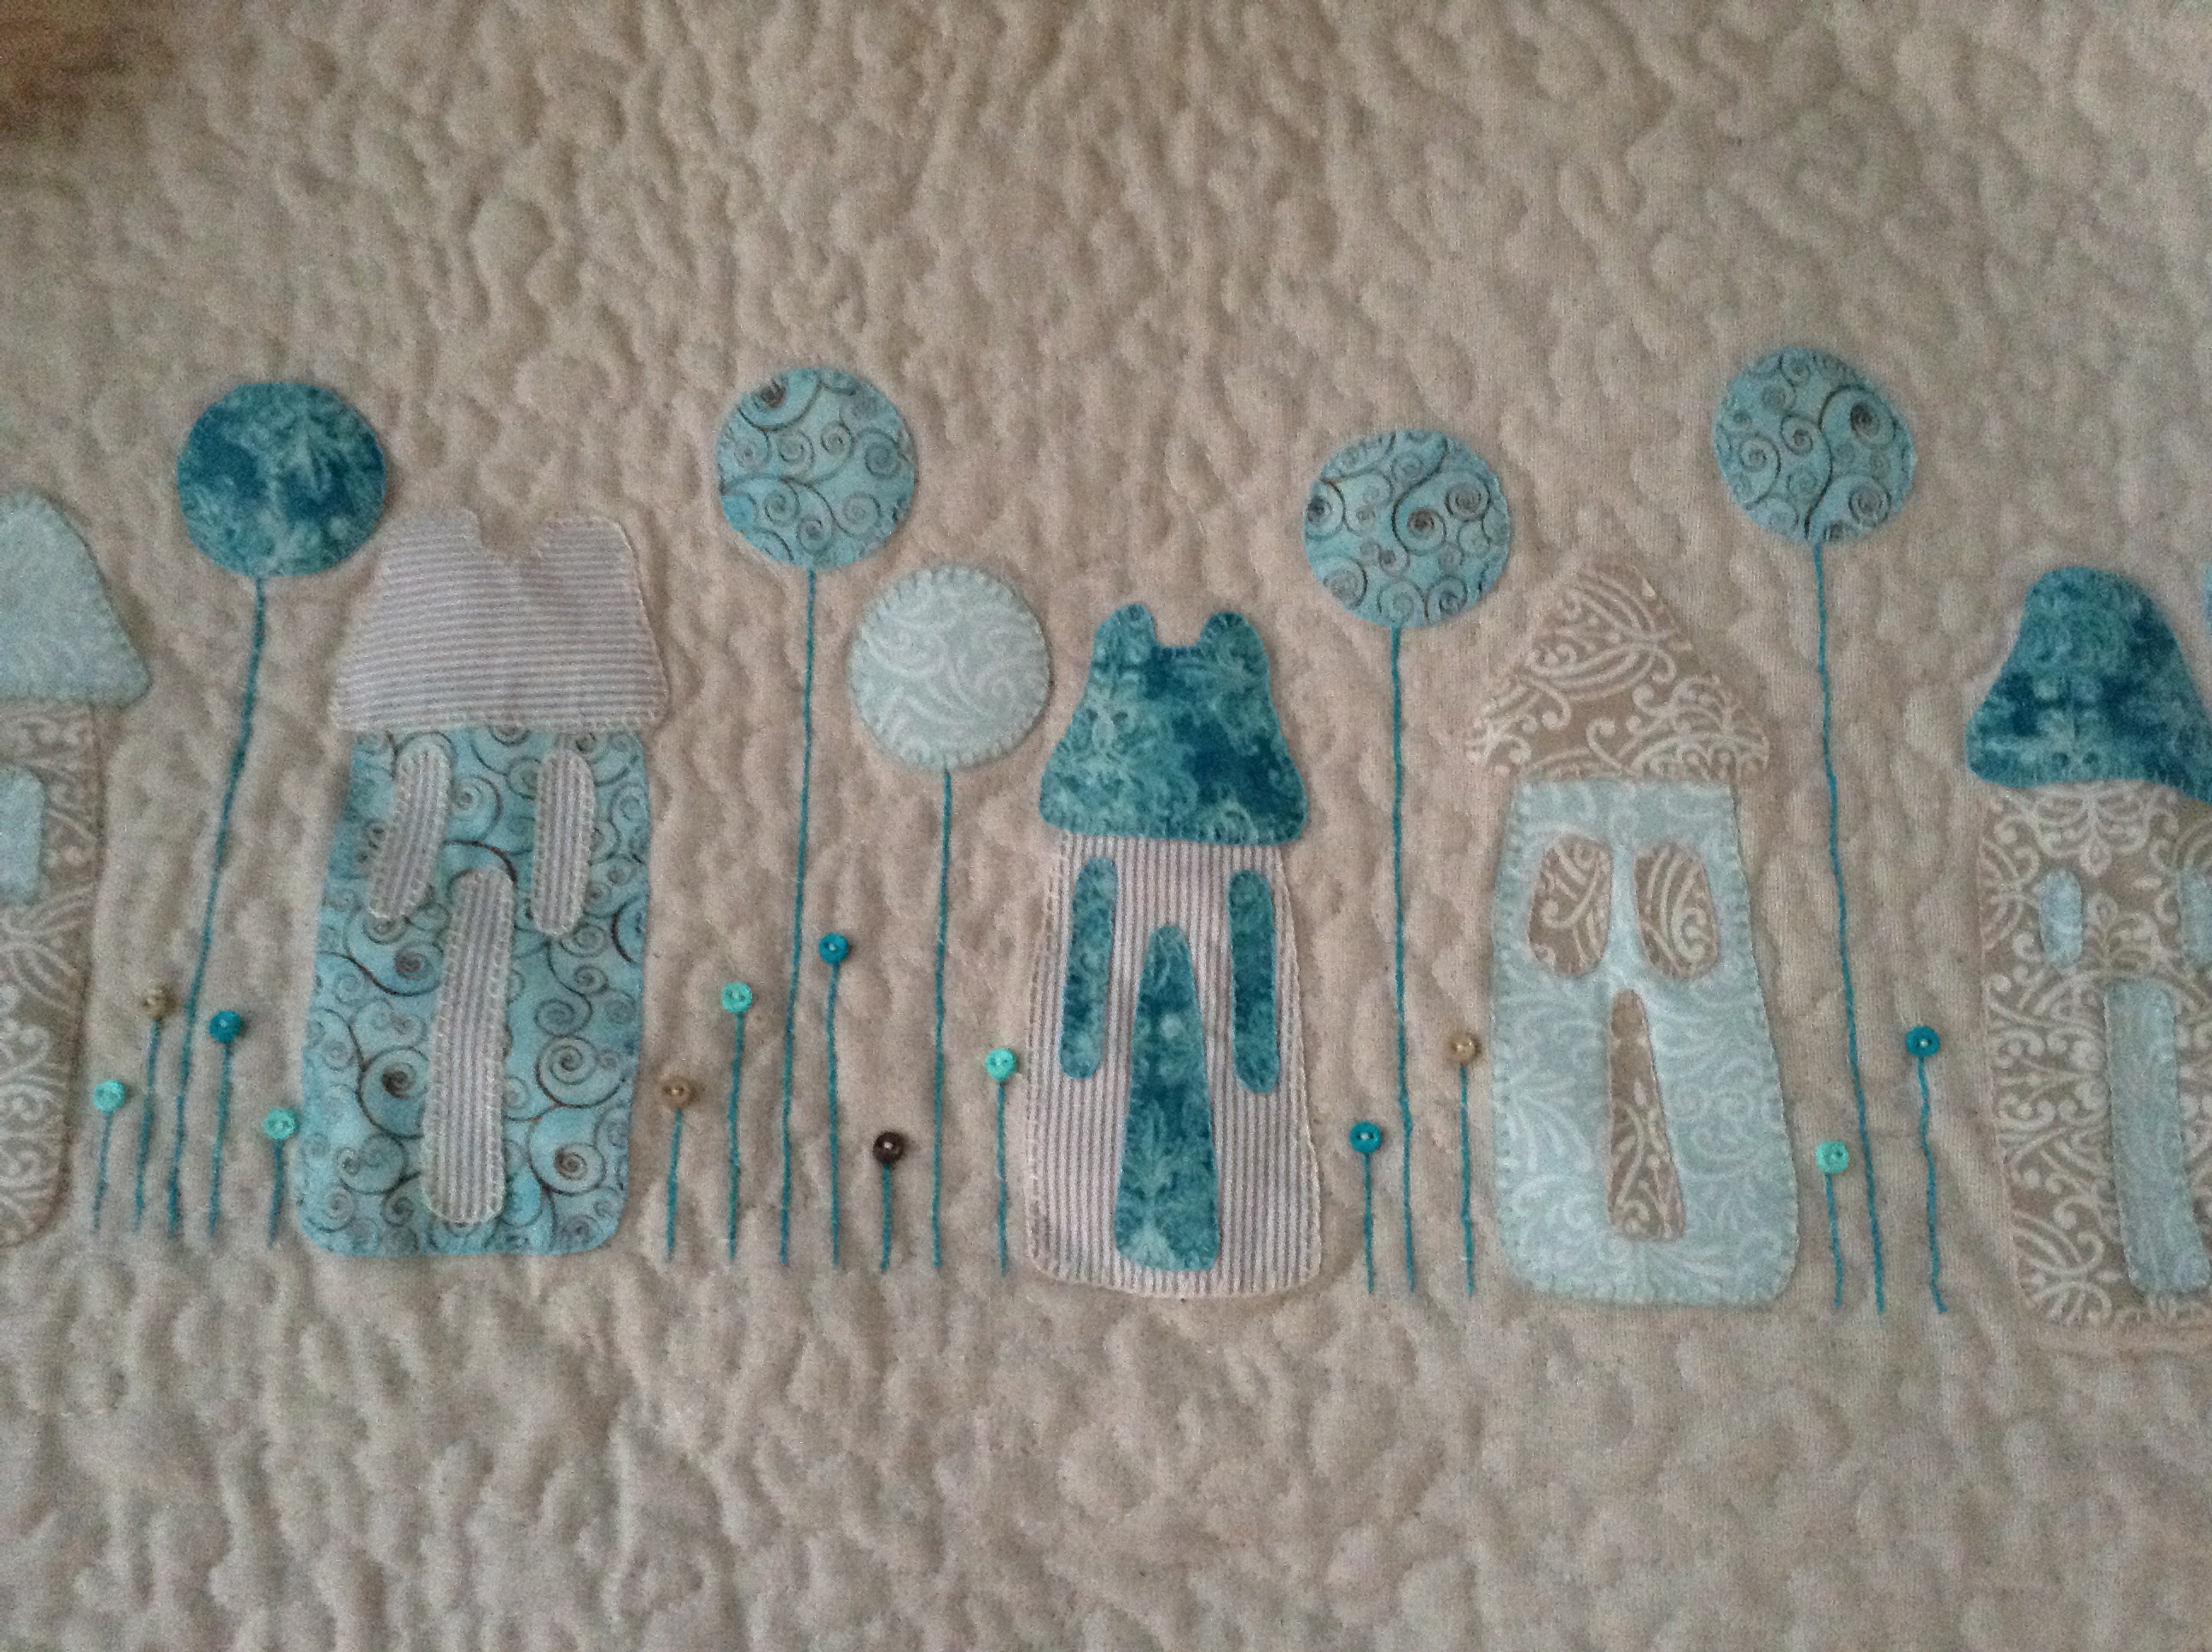
 Just finished this cute bed runner last night it is over five foot long, and it’s as cute as a button on the bed
Aug16
Just finished this cute bed runner last night it is over five foot long, and it’s as cute as a button on the bed
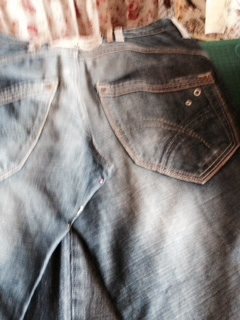
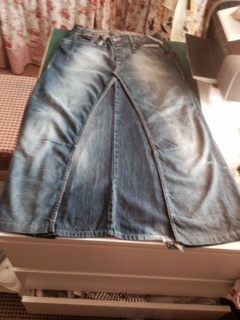 Ok so I really wanted the diesel maxi skirt for my trip to California, but seeing as I had already spent my months clothes quota in one day I needed to get creative. So thanks to my fab son Nathan and my nephew Mark I had inherited their old jeans that they gave me for my projects.
And this is what I created:

This is actually turned out a lot easier than I thought, just some creative thinking adhoc
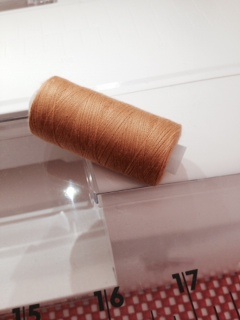
first I picked out the jeans that kind of match texture and colour wise. I then cut up the inside seam up to the front crotch, then you need to cut along the curved part of the crotch until the two sections will overlay without any lumps or bumps …. Then repeat this process on the back of the skirt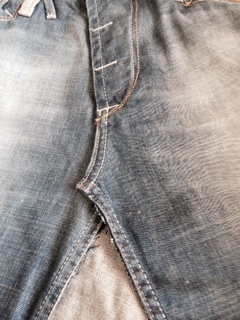 At this point I pinned the overlapping crotch front and back in place , stitching using matching thread
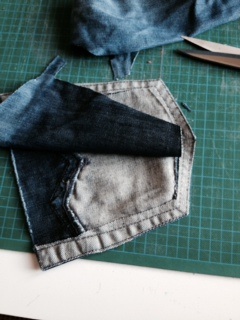
Once I was happy with this I then picked my second pair of jeans and chopped off one leg, I then cut up the seam that I didn’t want to be seen on the front, so this part is your choice. 
I then lay this section inside the front part of the skirt and lined it up with the hem and the centre seam.
Then you need to pin pin and pin in place. Once I was happy I used my frixon pen and draw a line along the join to make sure it was stitched securely in place .

I then stitched along the seam going over the original stitches using again the same colour of thread
Then the next step is easy, the back of the skirt is the same process as the front using the other leg of the second pair of jeans.

Again pinning and marking with the frixon pen and sew into place.
your skirt is now finished, however I did decide to go a step further and add some additional pockets, so this is the process for that..
 Cut out the pockets of a pair of old jeans, then trim of the inside of the pocket’ you don’t need this and it just adds bulk.
then place and pin to the skirt where you want to stitch it

I put one on the back and the front, hey why not they might as well be used and I do like to be different.
I hope you have enjoyed this tutorial, and if you like I can post a tutorial on this top I made to go with it, it only took 20 min sputters to made, super easy
Belfast girl, living life with janome…
I think I’m going to be a very busy belfast girl the next few weeks 🙂


Tada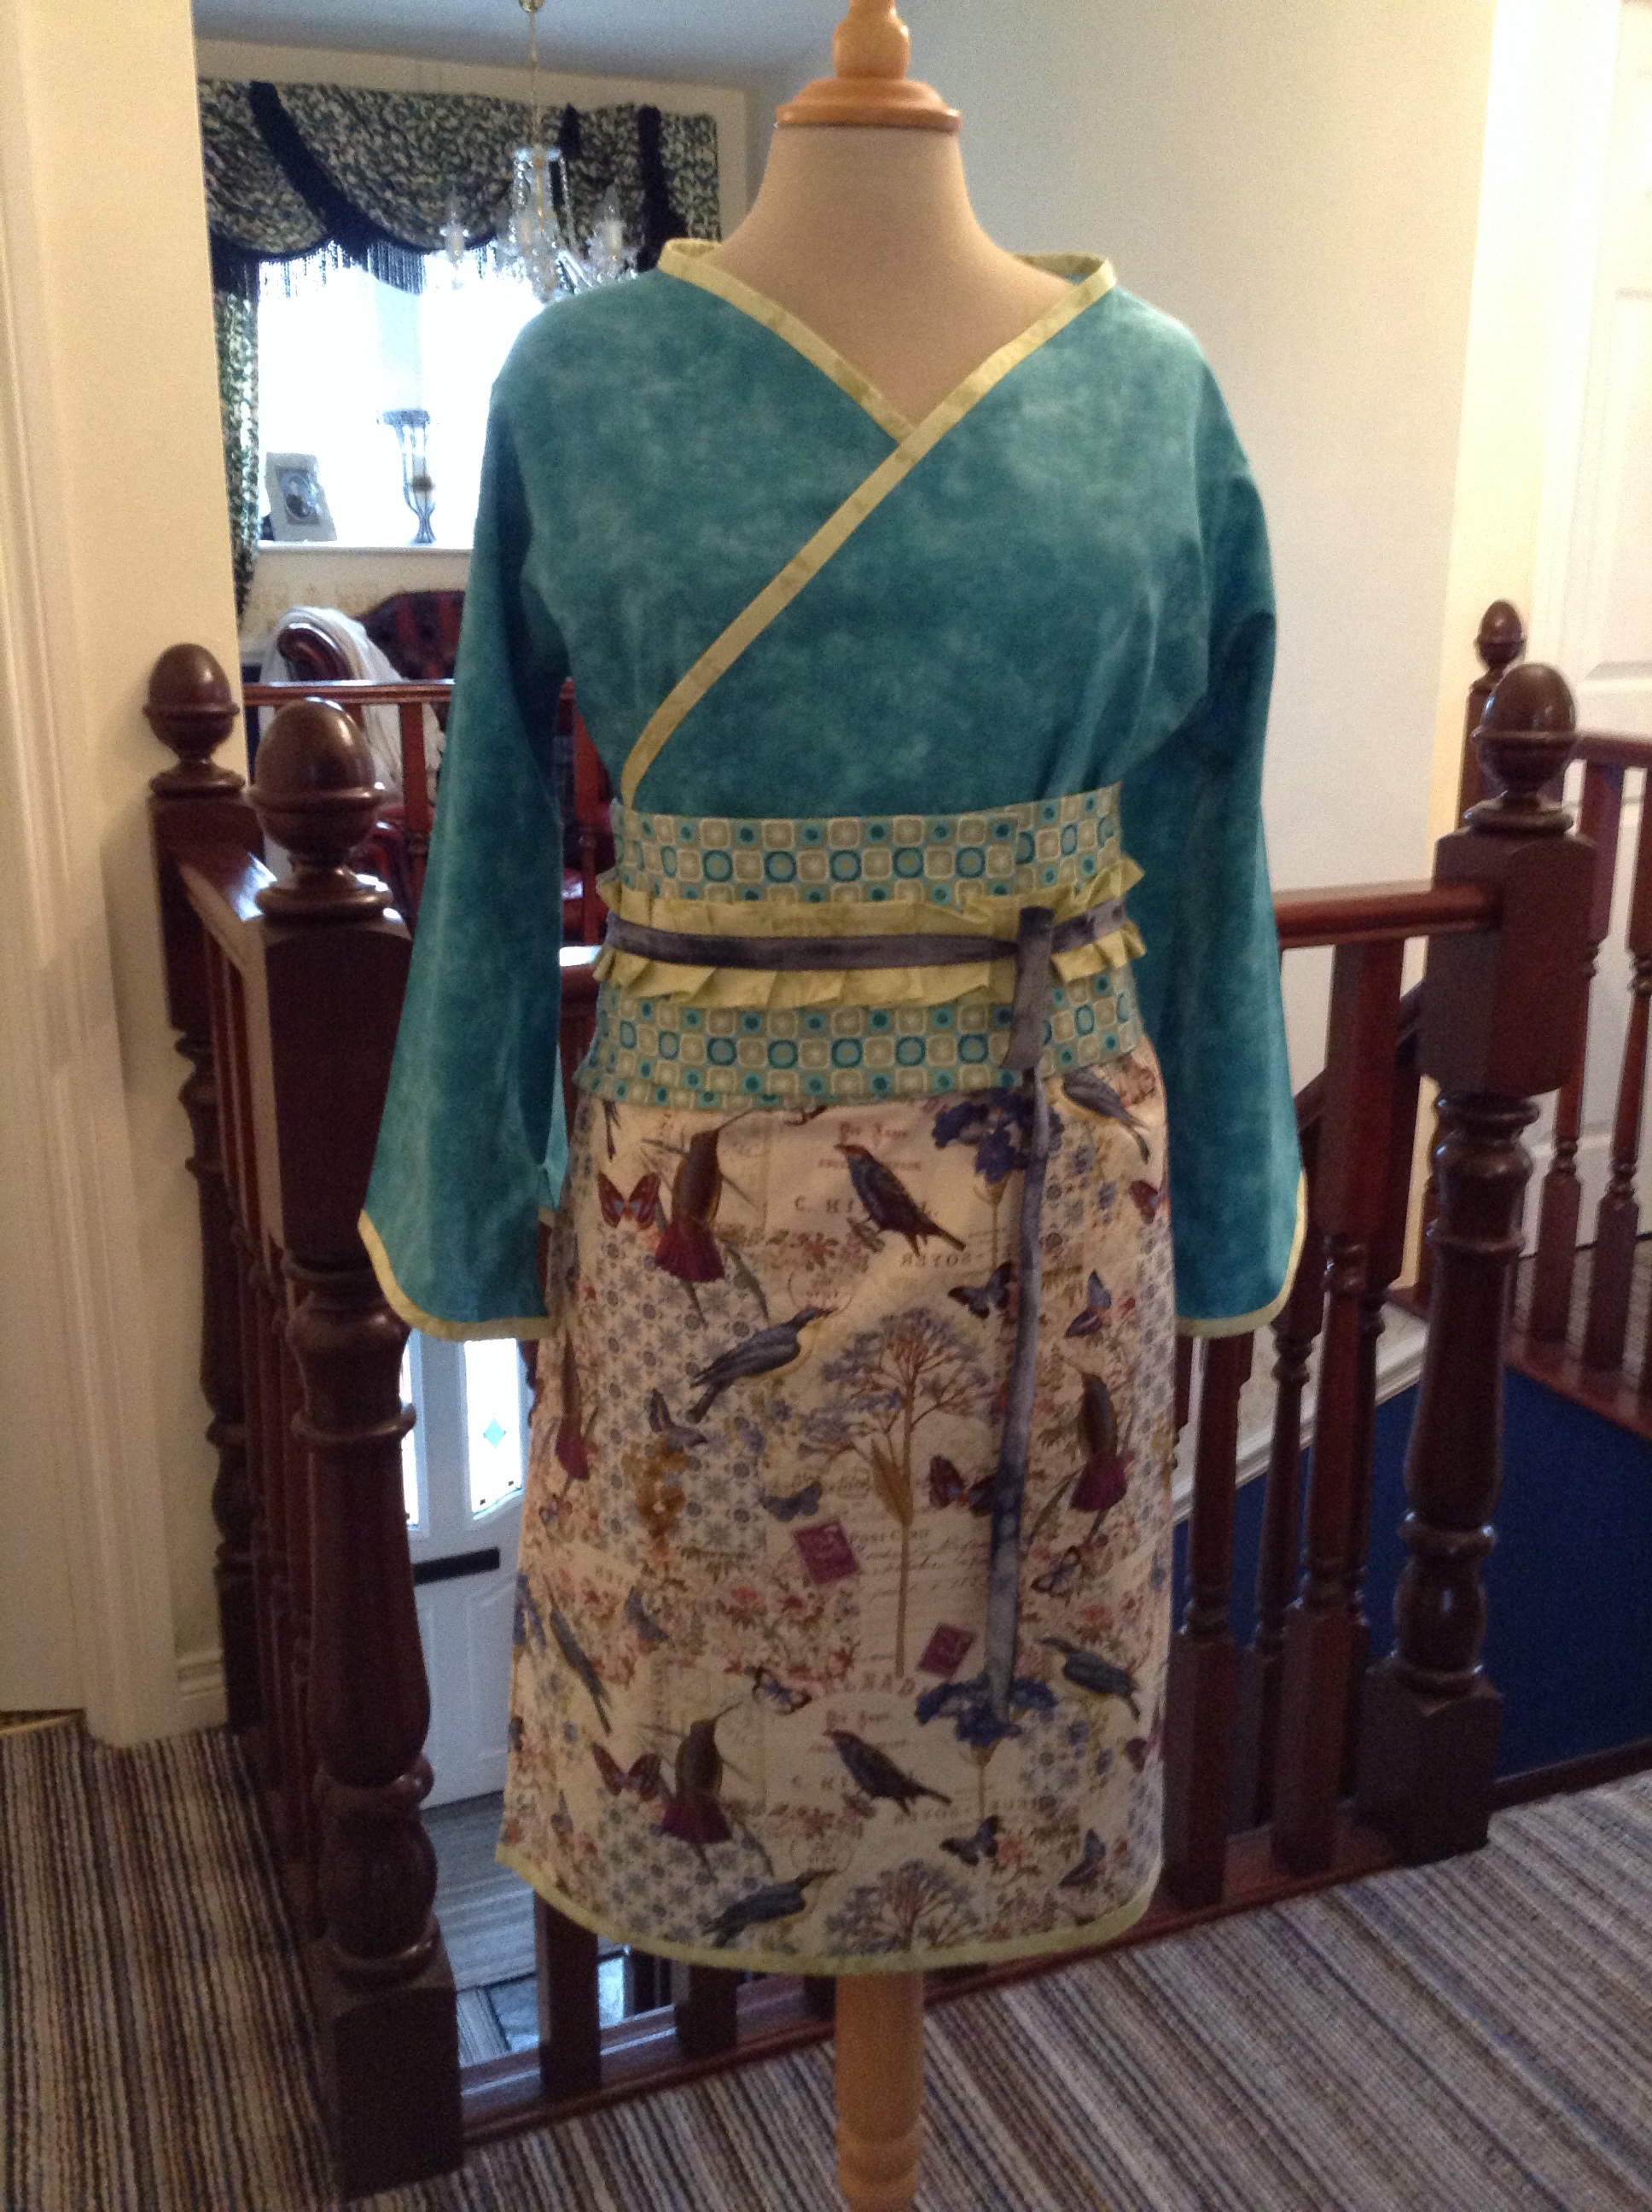
 Front and back view
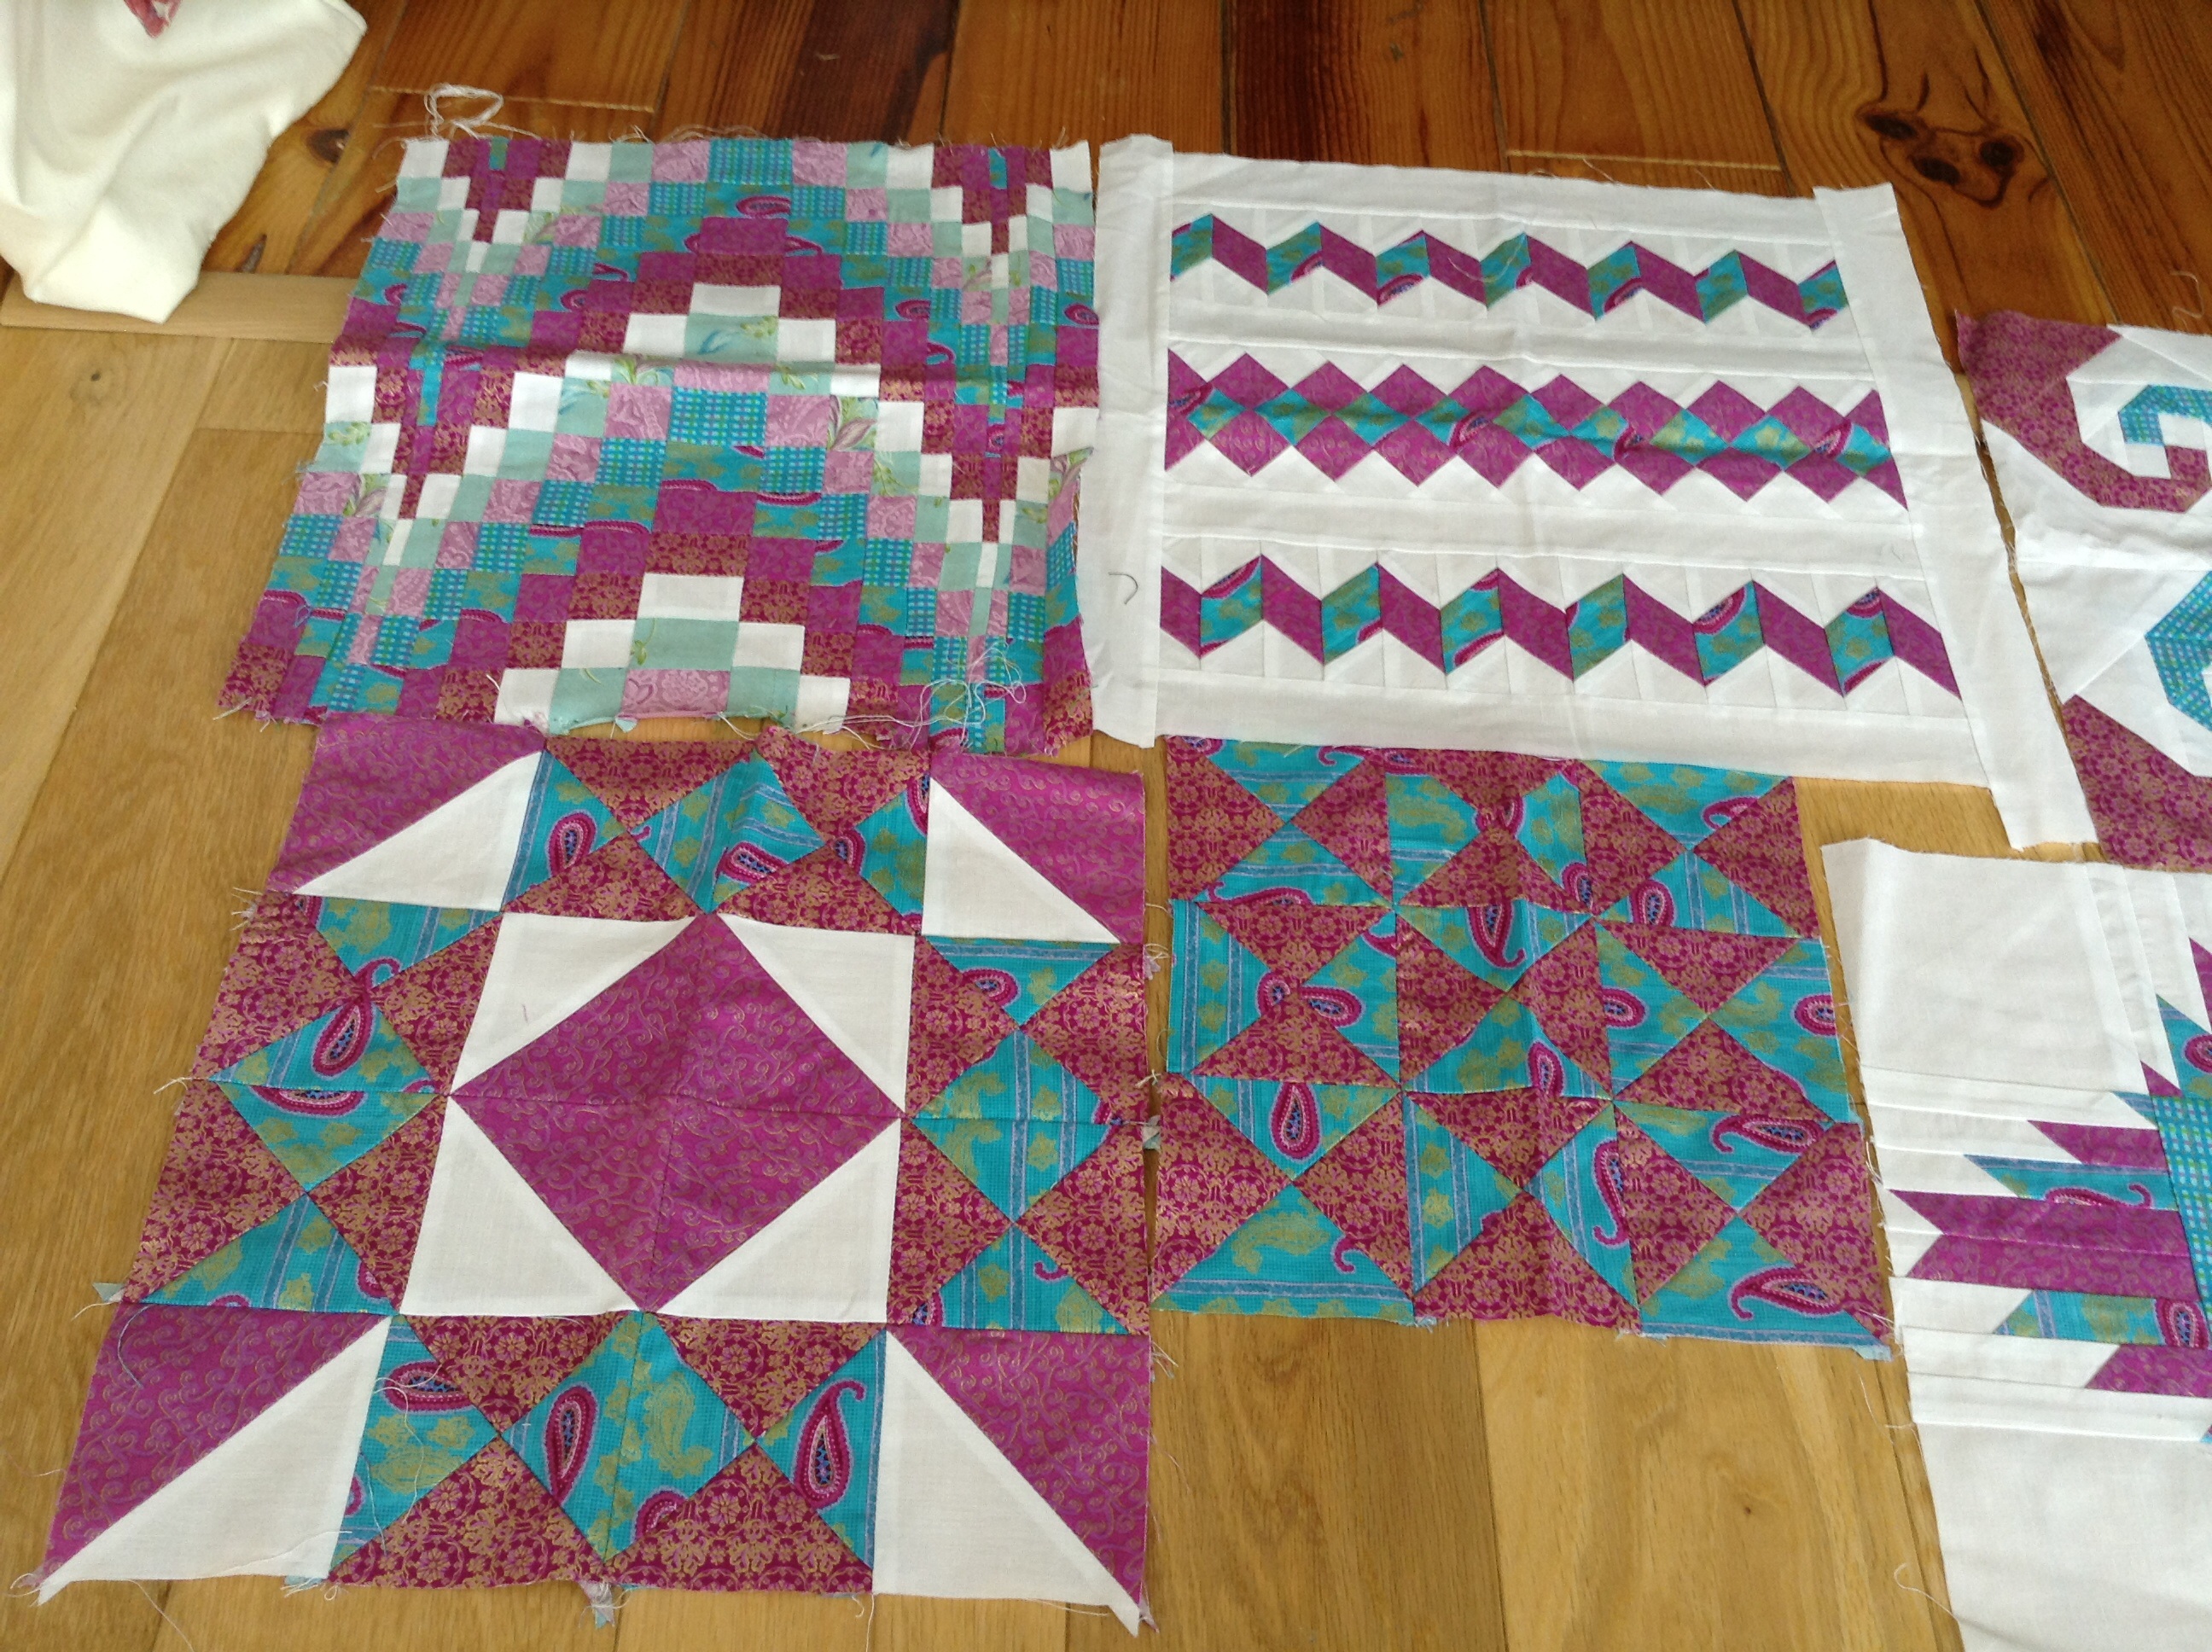
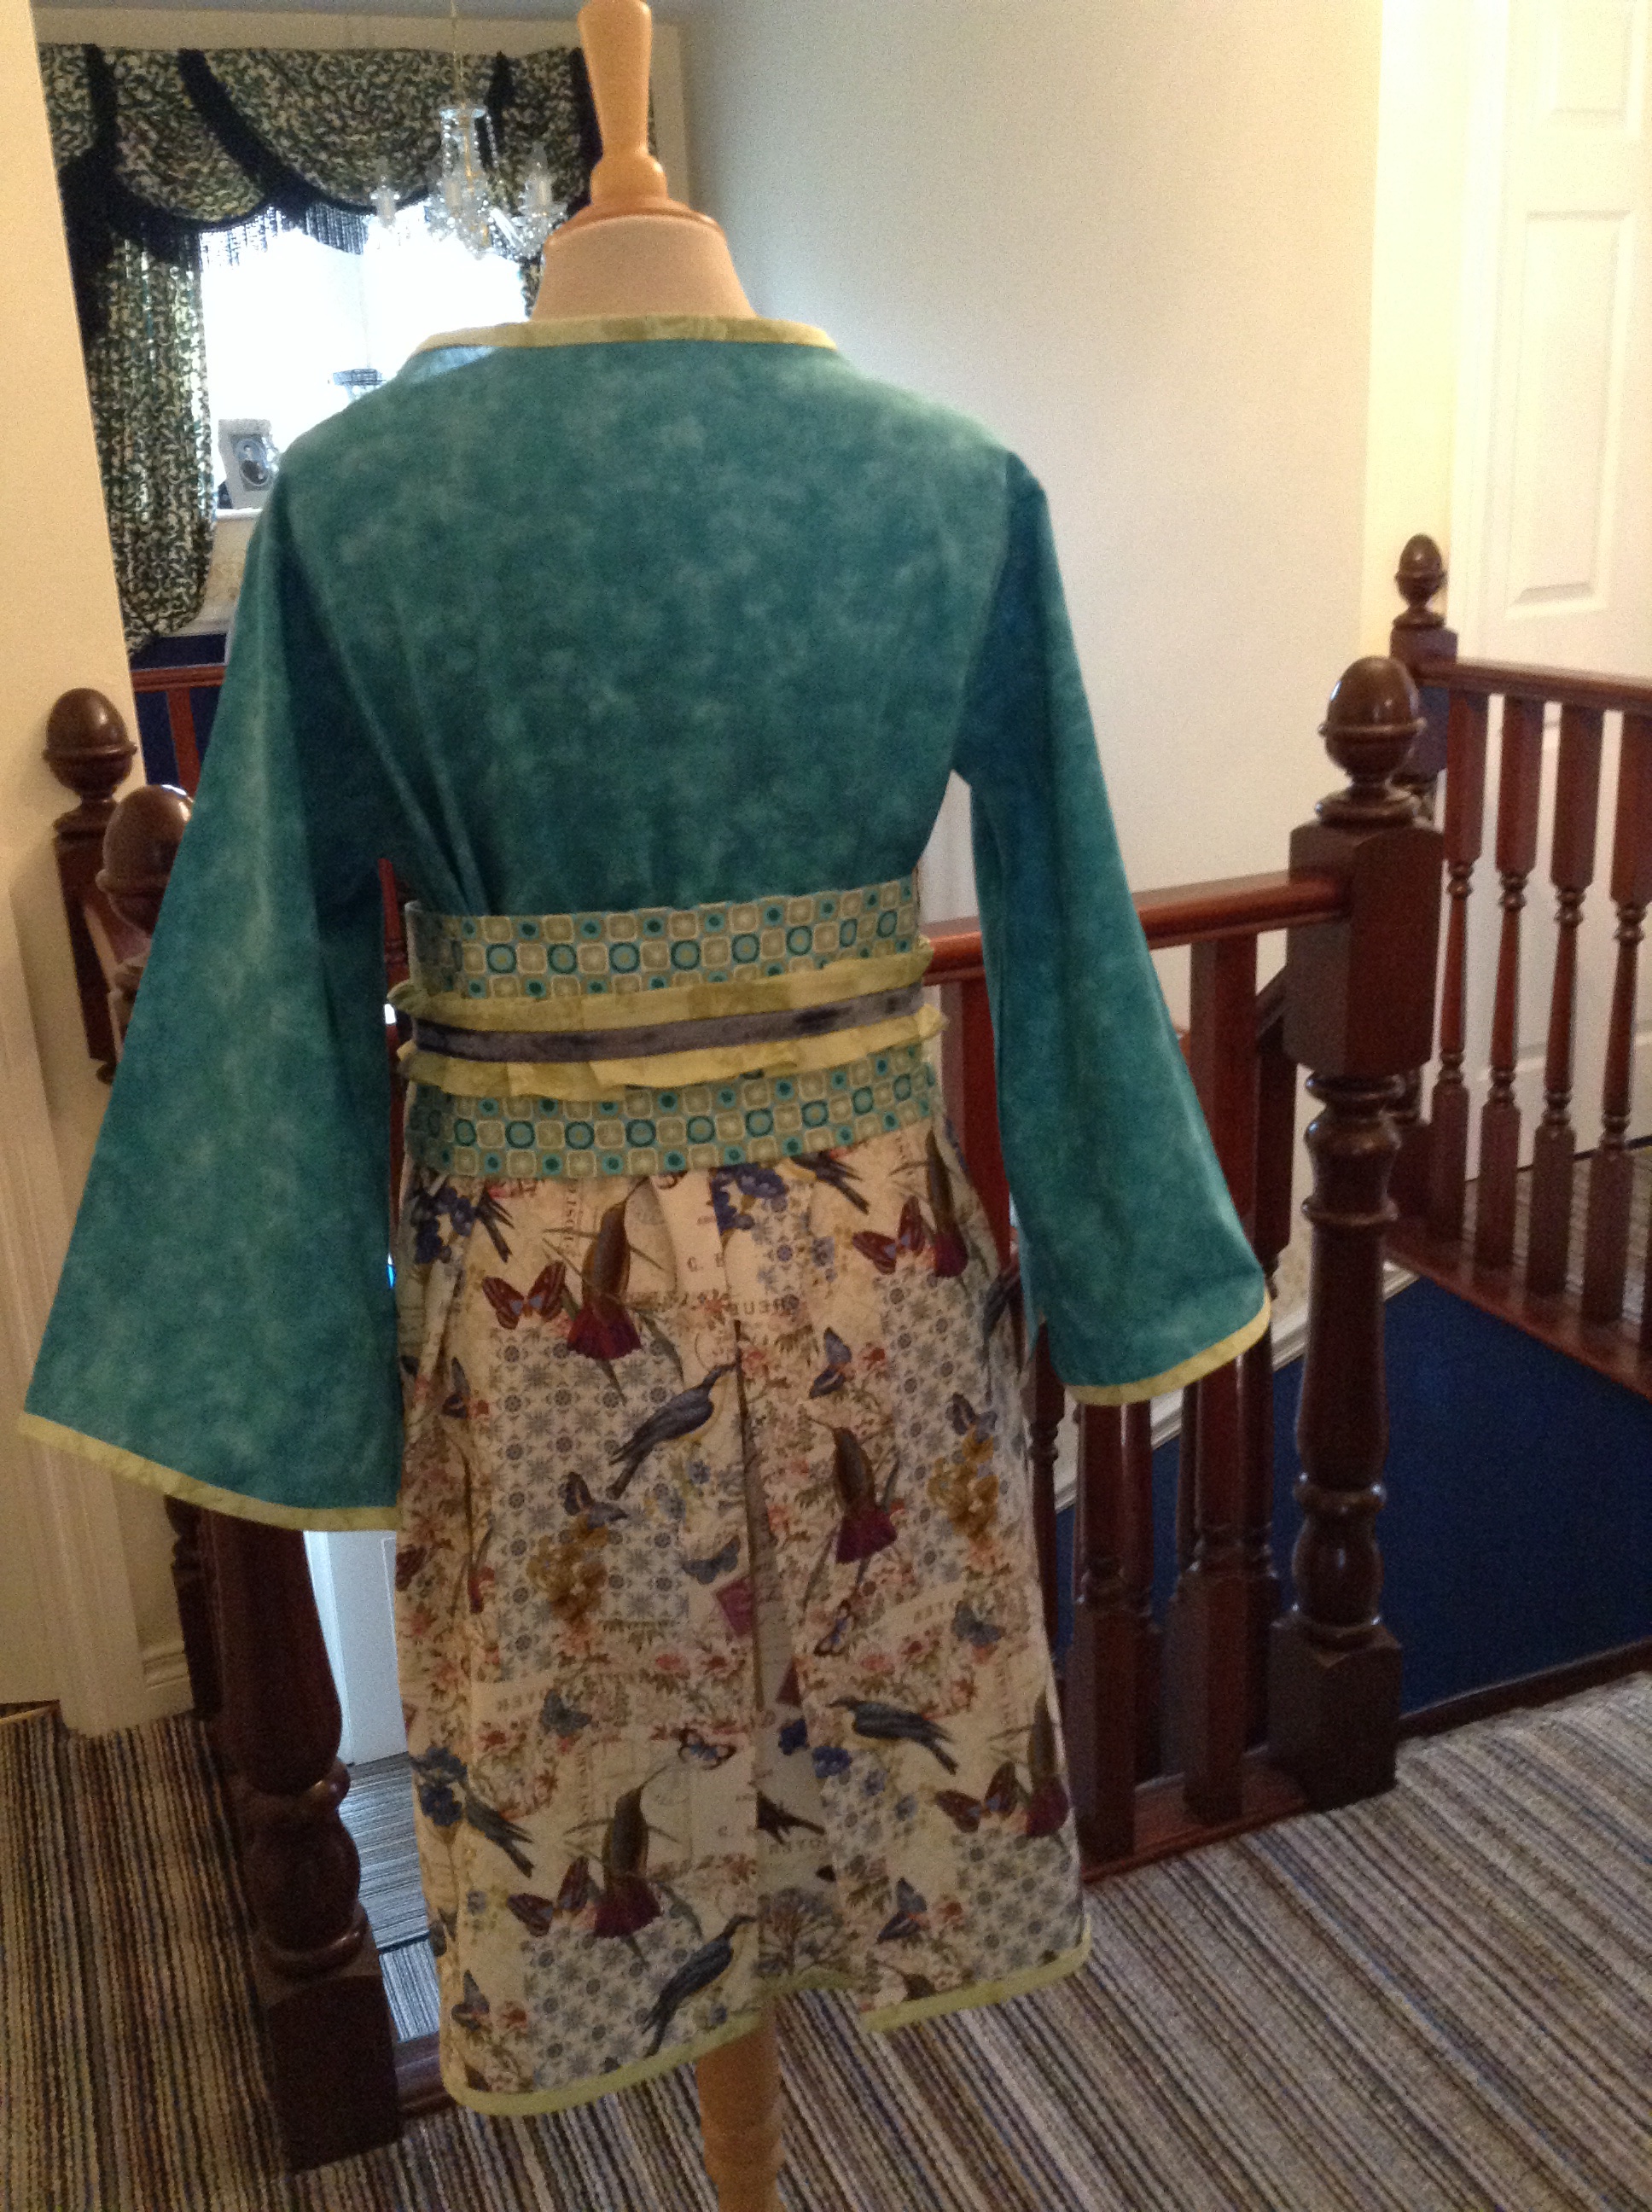
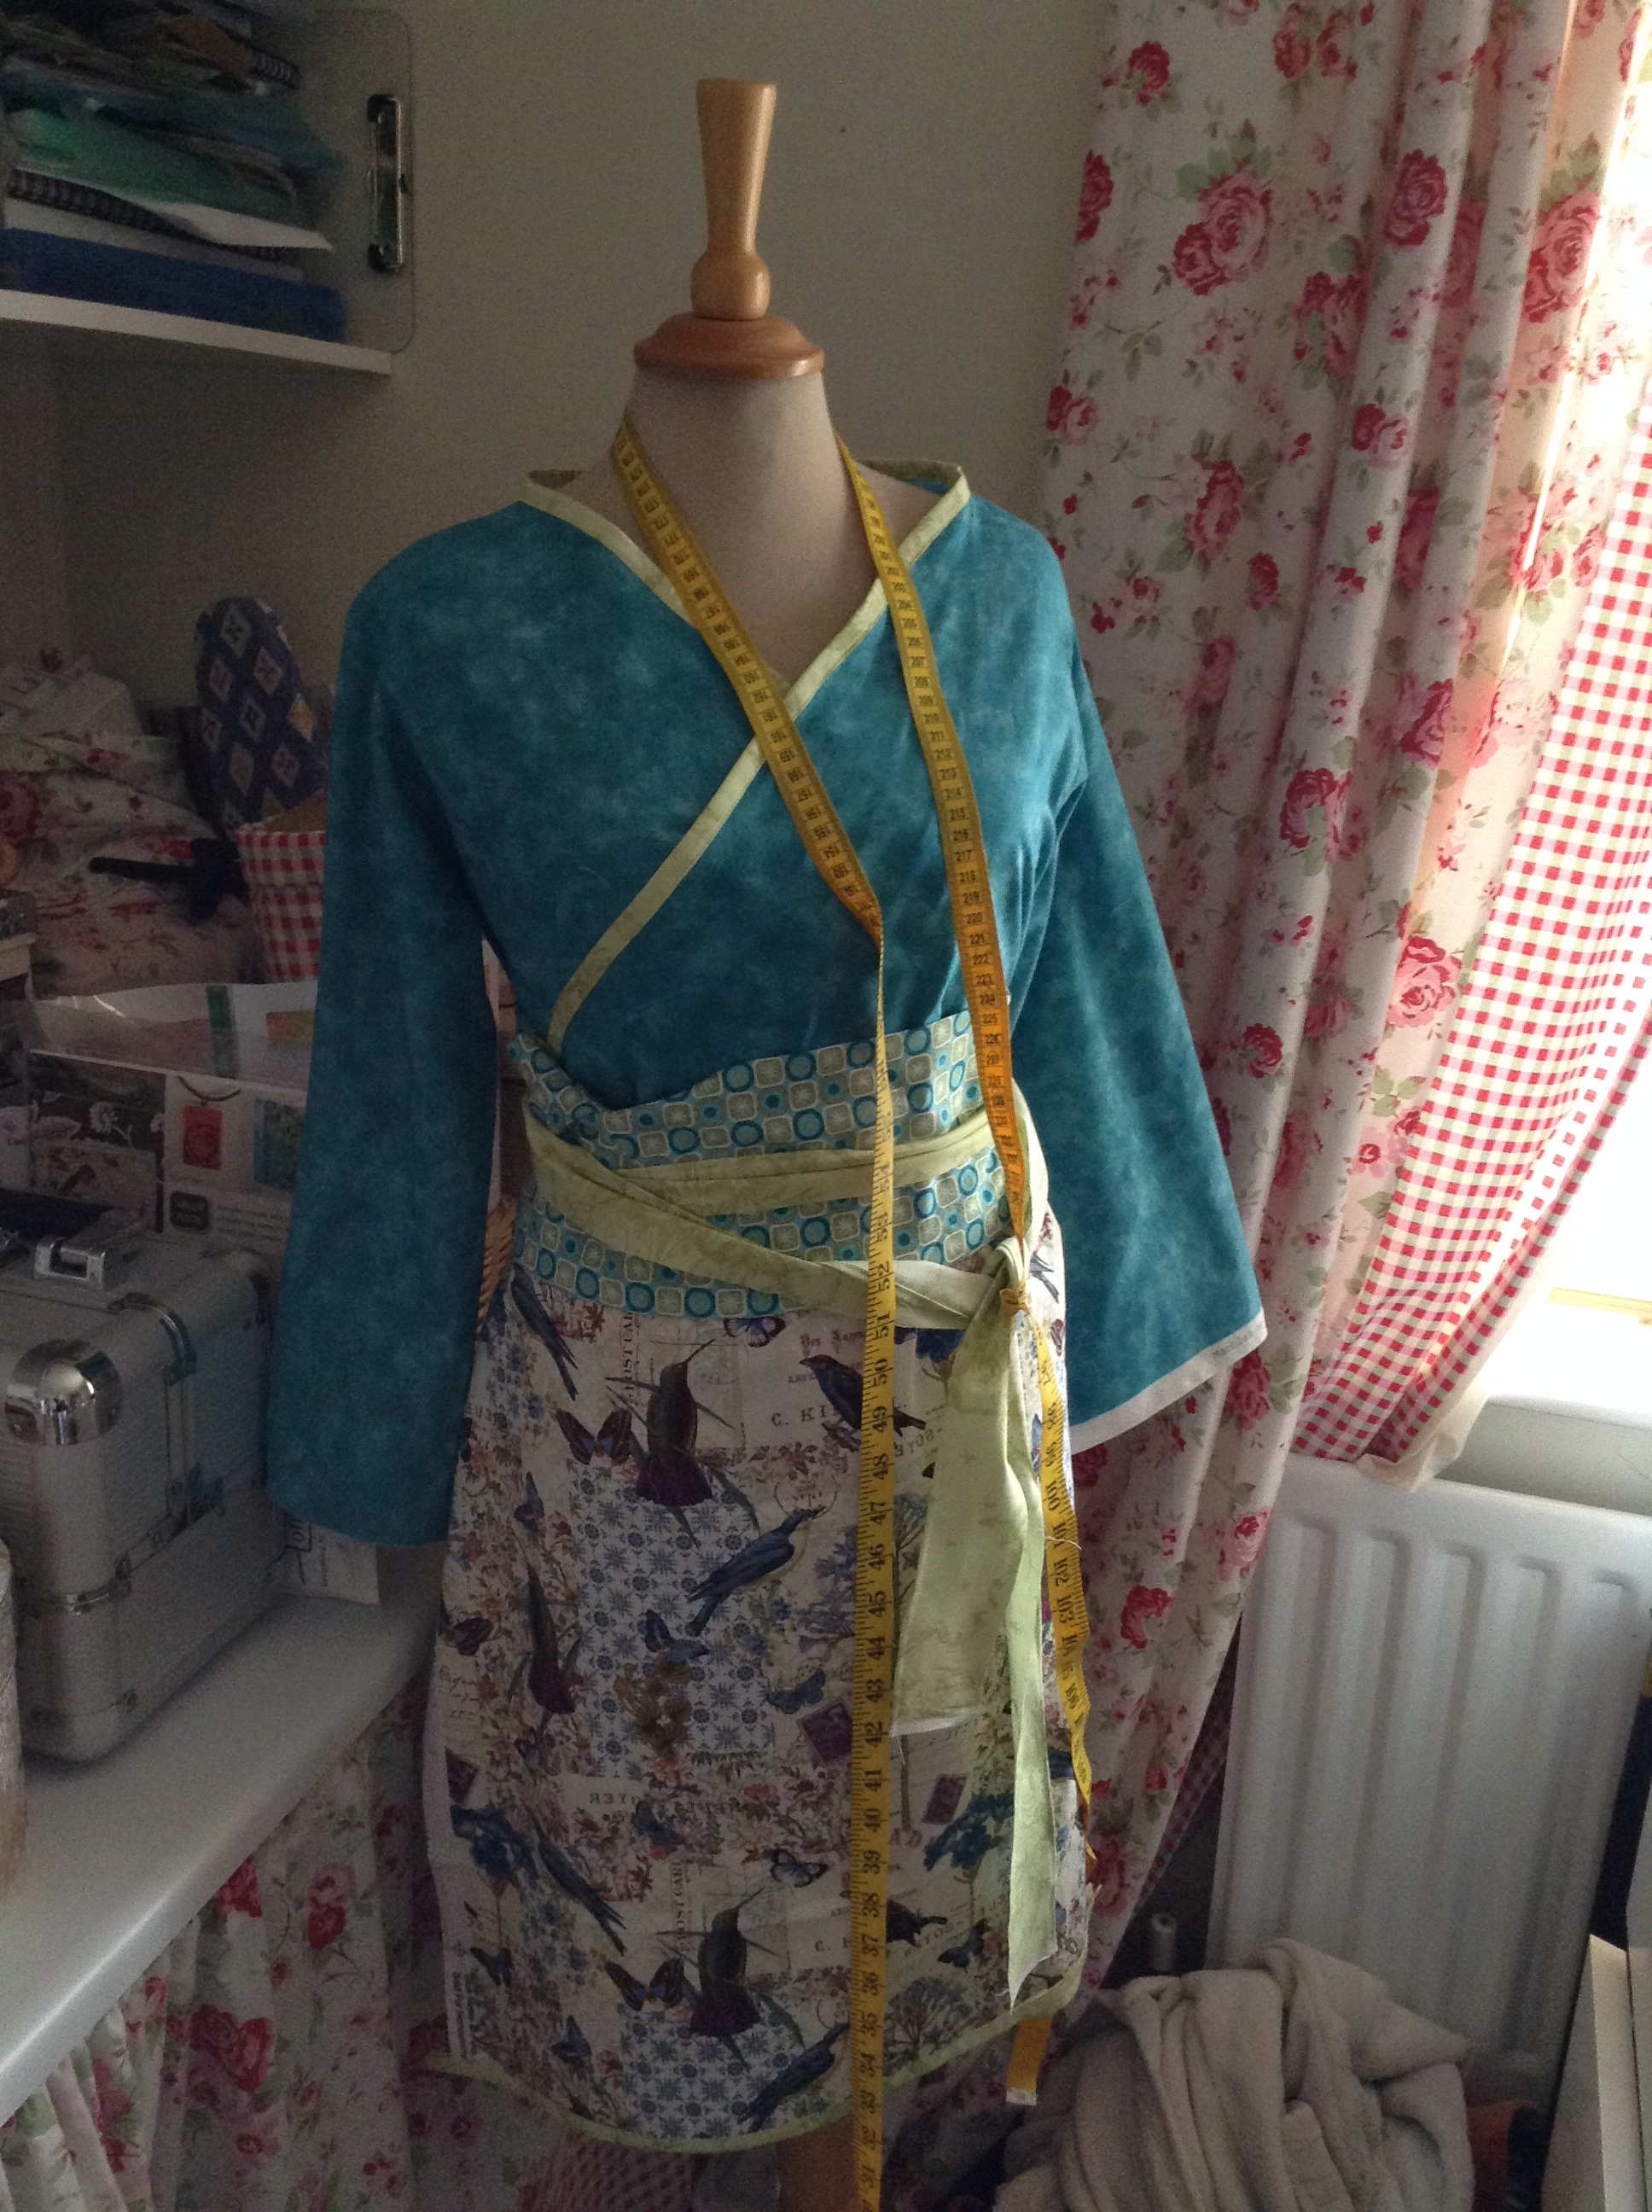 Well true to style I have started a new project, thought I would treat myself to a new tunic, it’s almost done , just the belt and cuffs and some other finishing touches. I’m really pleased with the fabric choices, I got the patterned fabric in Boston in February with my sister and I wanted to use it for something for moi, let’s just hope it’s stays together on its first wash 😉
One hectic weekend our sons 22nd birthday yesterday, lunch with some lovely sewing ladies and fabric shopping today, 30th birthday party tonight , and then to finish it of our sons graduation on Monday coming. I should hopefully have some more photos and posts when that’s all done, oh and I forgot to mention my holiday to California coming up also…. So the next few posts are going to have to be good, maybe a cliffhanger

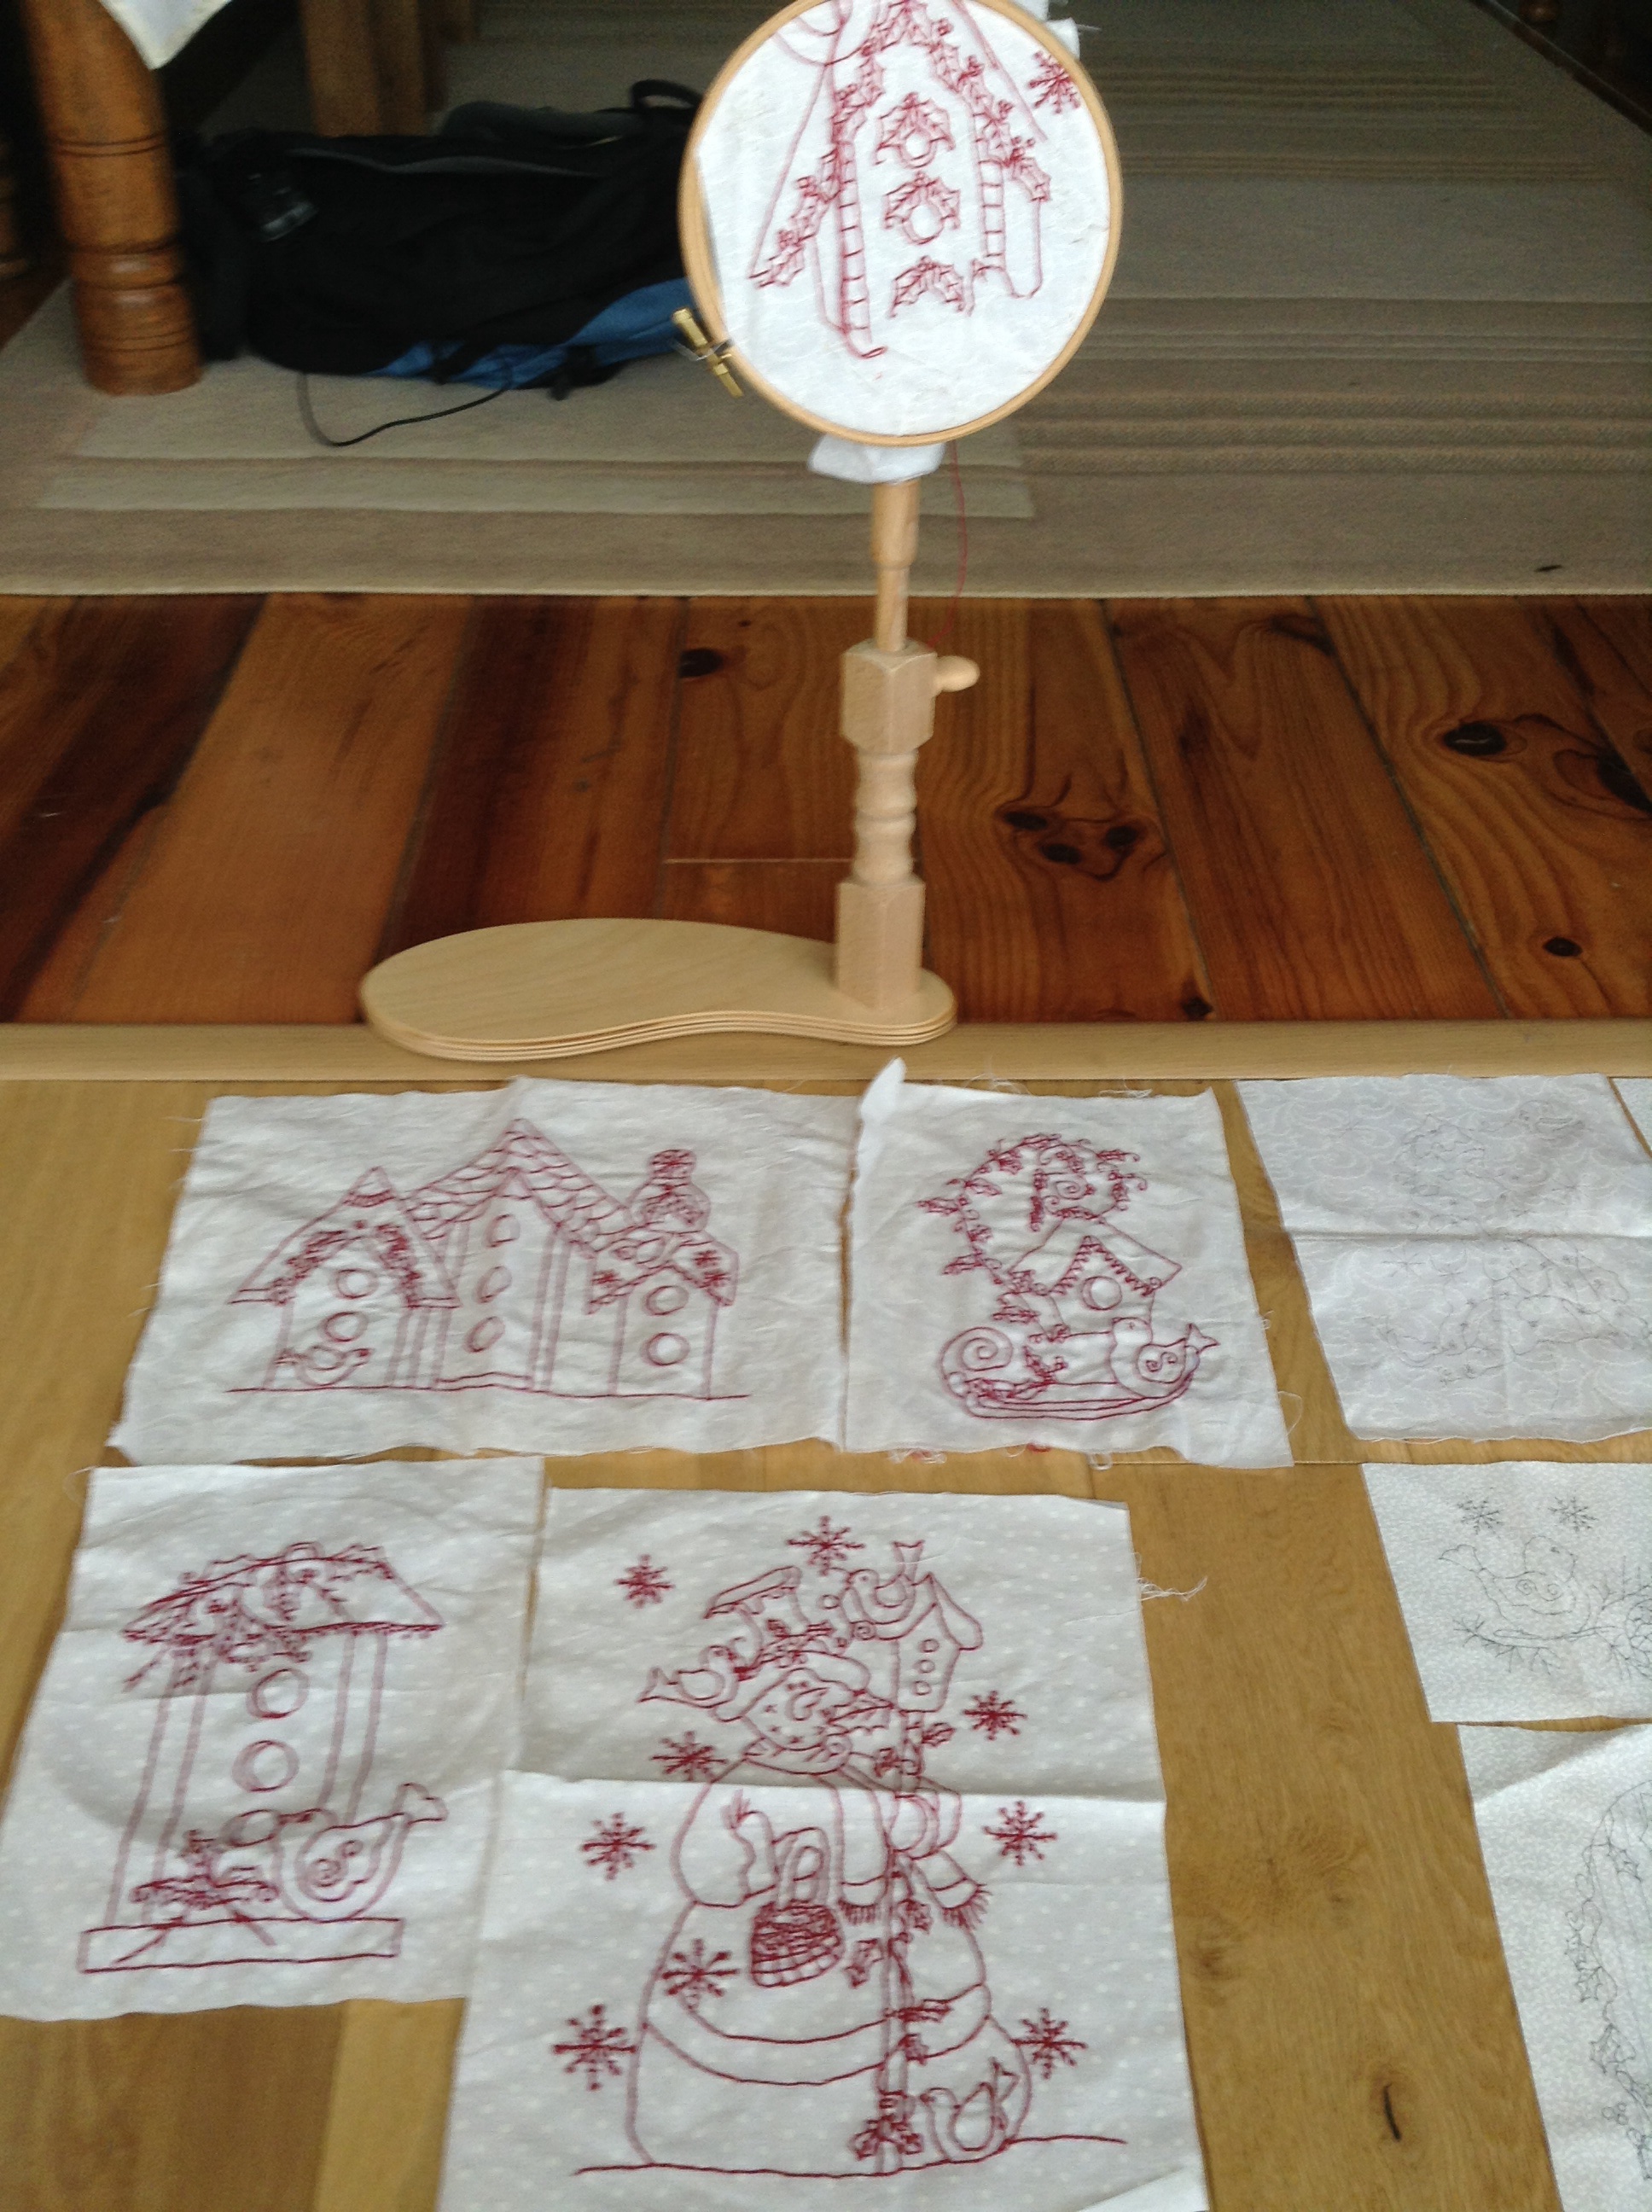
Free machining, drop your feed dogs, put on a darning foot or an embroidery foot, bring up bobbin thread and relax……
i also use a top stitch needle or an embroidery needle when doing this.
Not sure if you can see this, I have stared with the feathers using rayon 40 weight embroidery thread, I will probably use around five different colours to create the feathers, it’s really therapeutic but time consuming. My little dog Penny gets jealous of my sewing machines if I spend too much time there, so I have to put her on my knee when I’m doing a lot so I can get it done. Is there a cheap procedure out there that lengthens your arms 😉
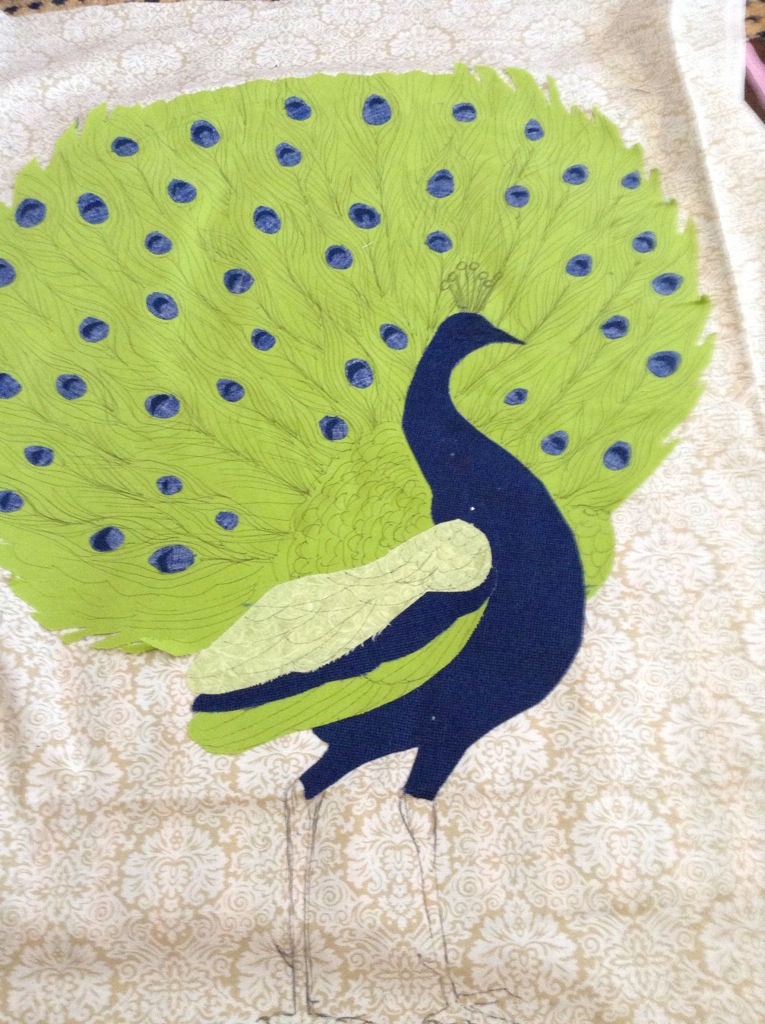
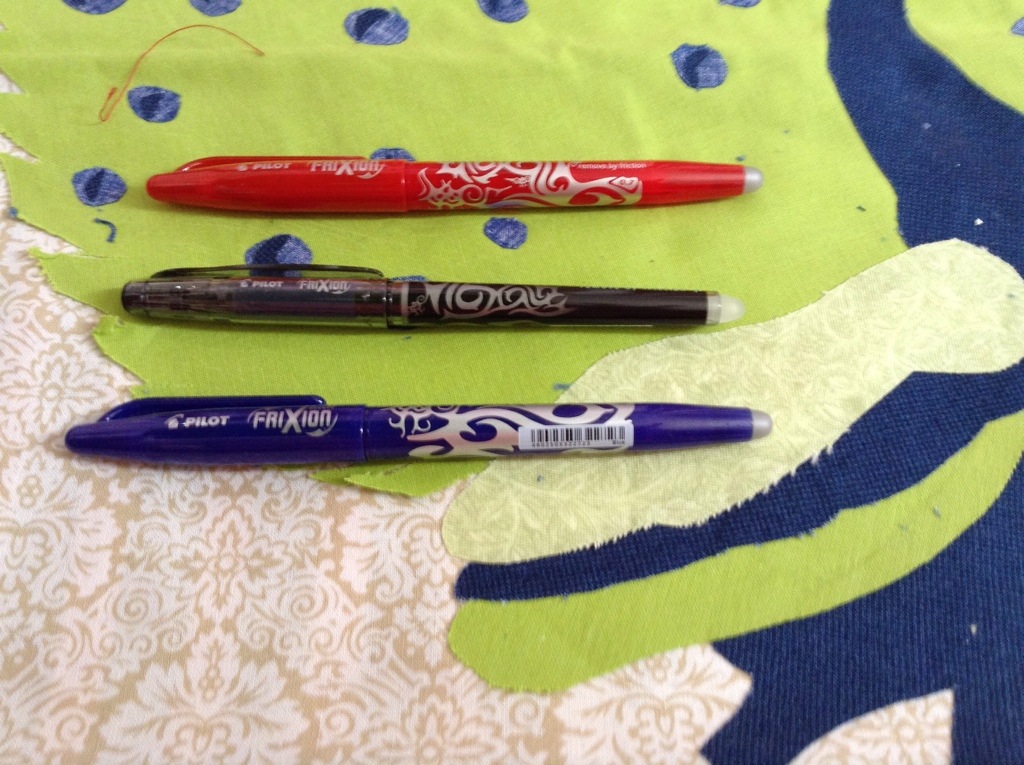
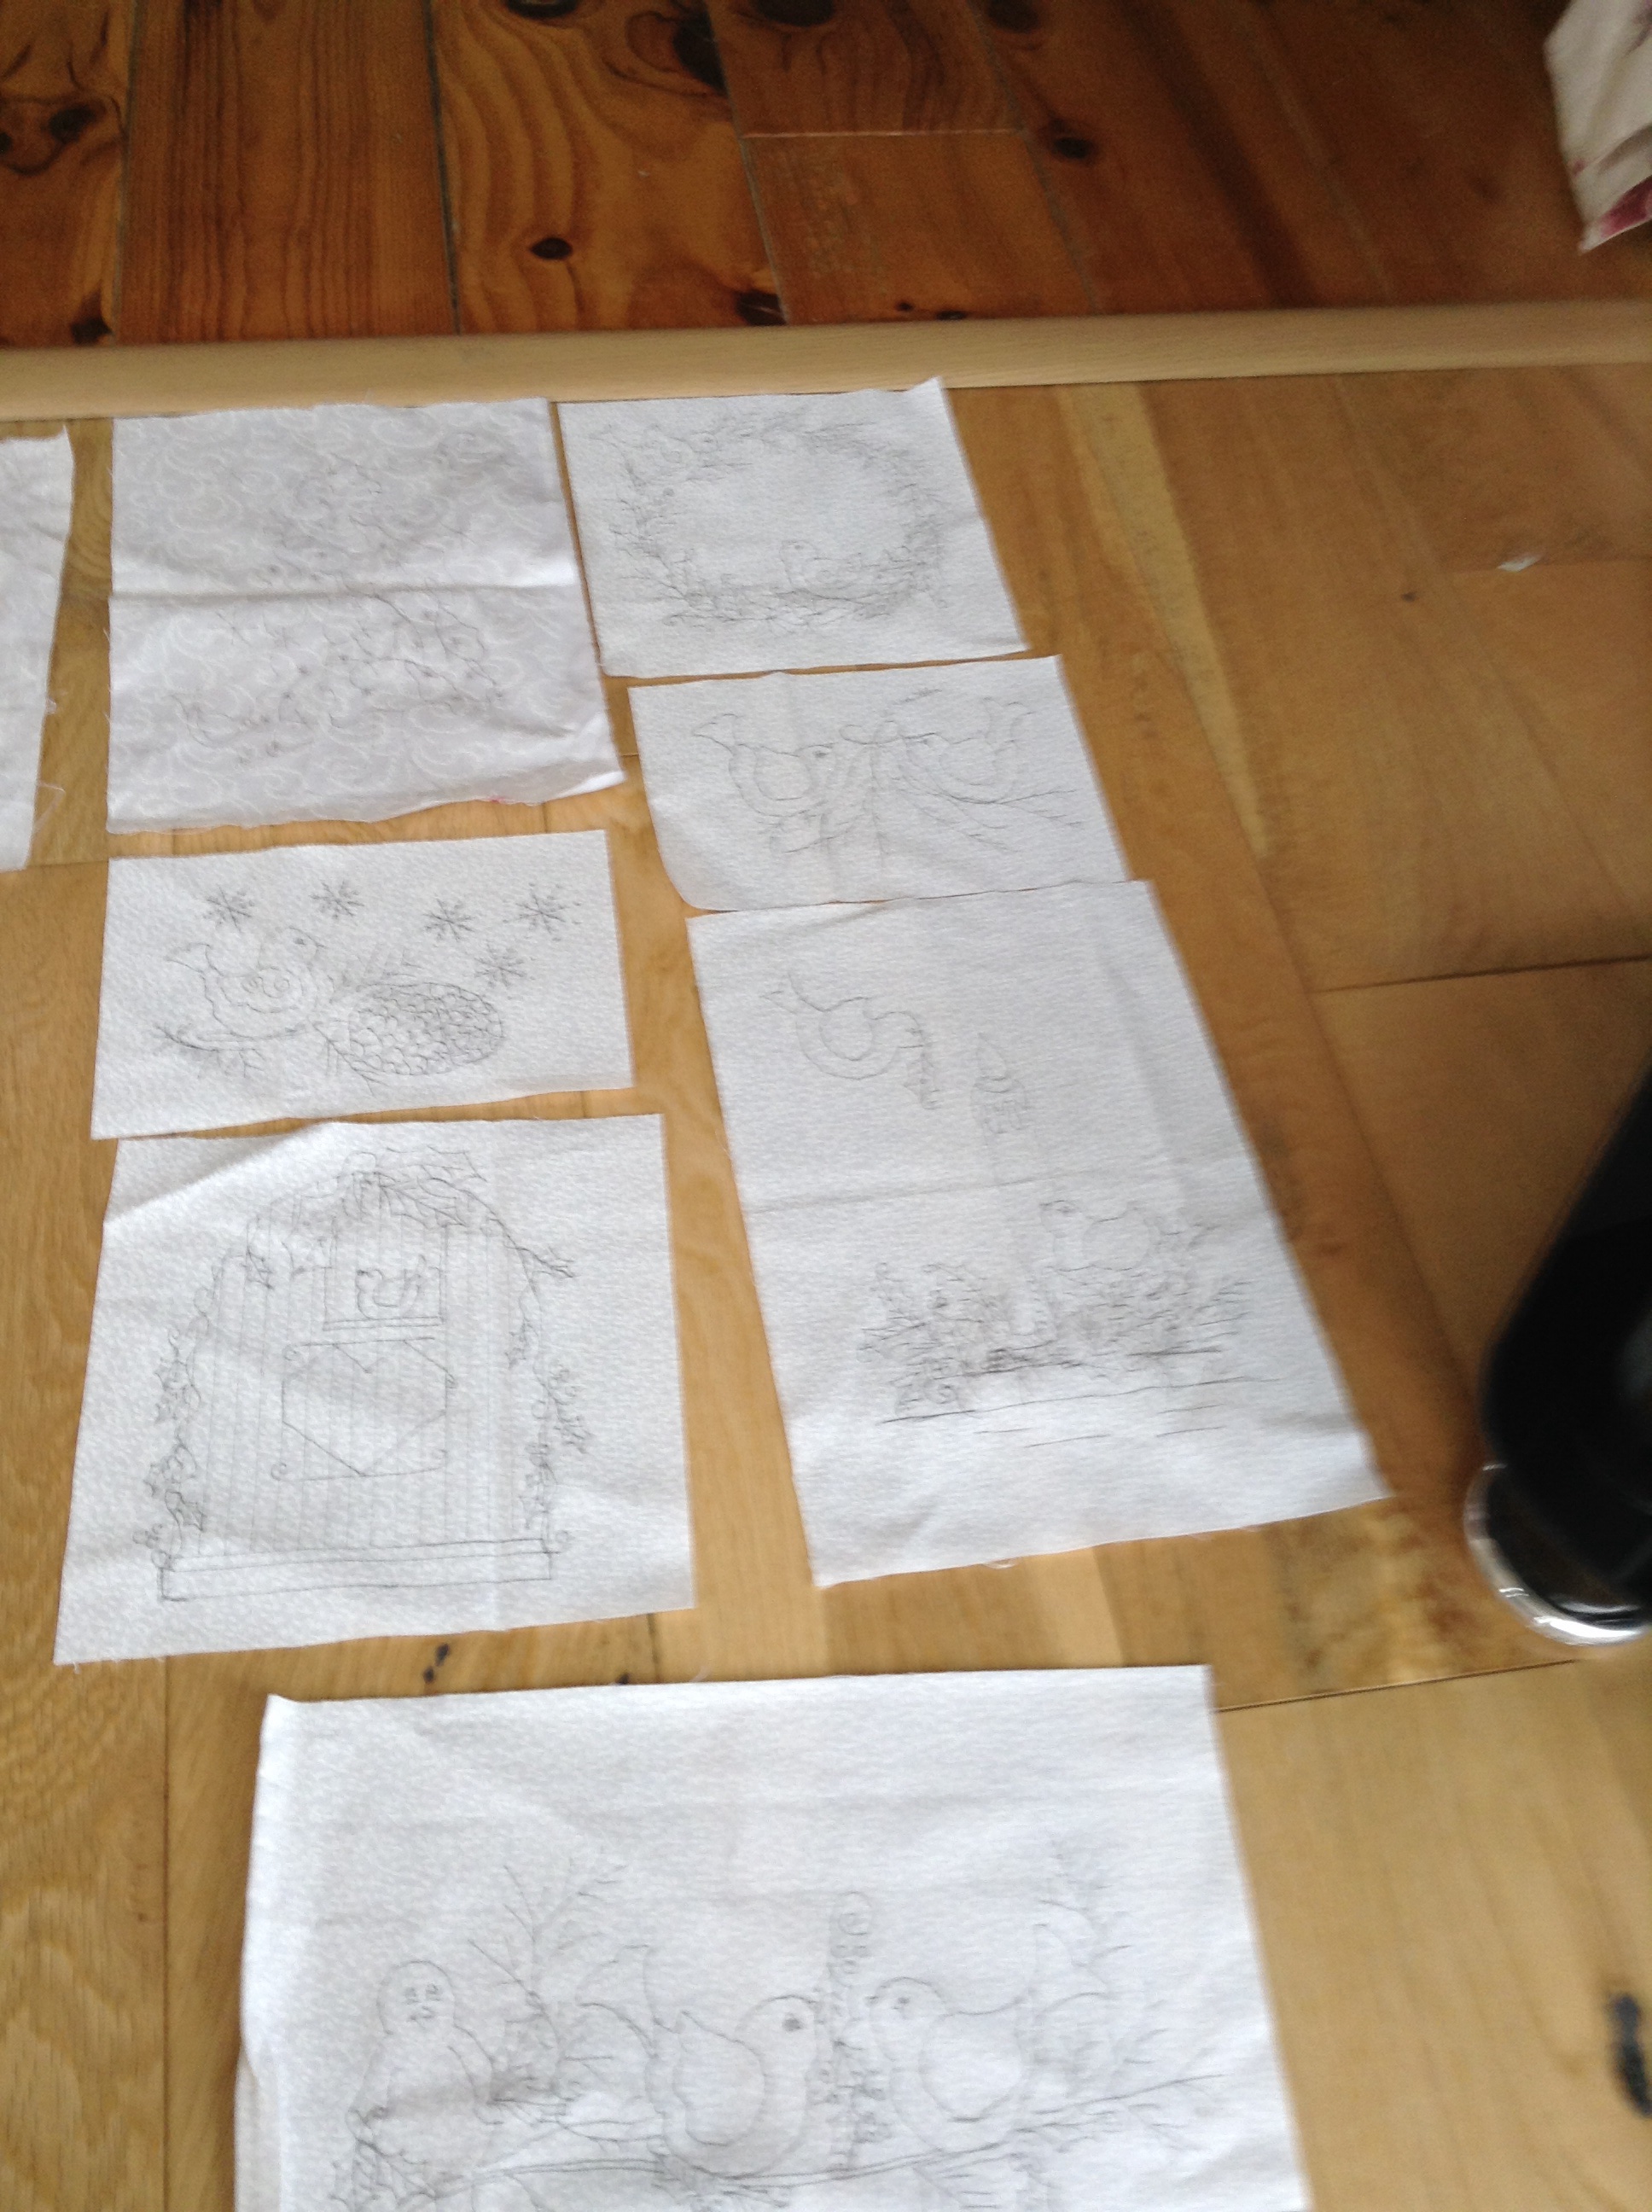
I love these frixon pens heat removes the ink, by iron hairdryer etc. I have roughly drawn on where I think I would like the feathers to go, now foe the painting with thread, see you in a few days ………


Two useful scissor tips, the first one keeps your scissors at your sewing machine and the second keeps them around your neck for hand sewing
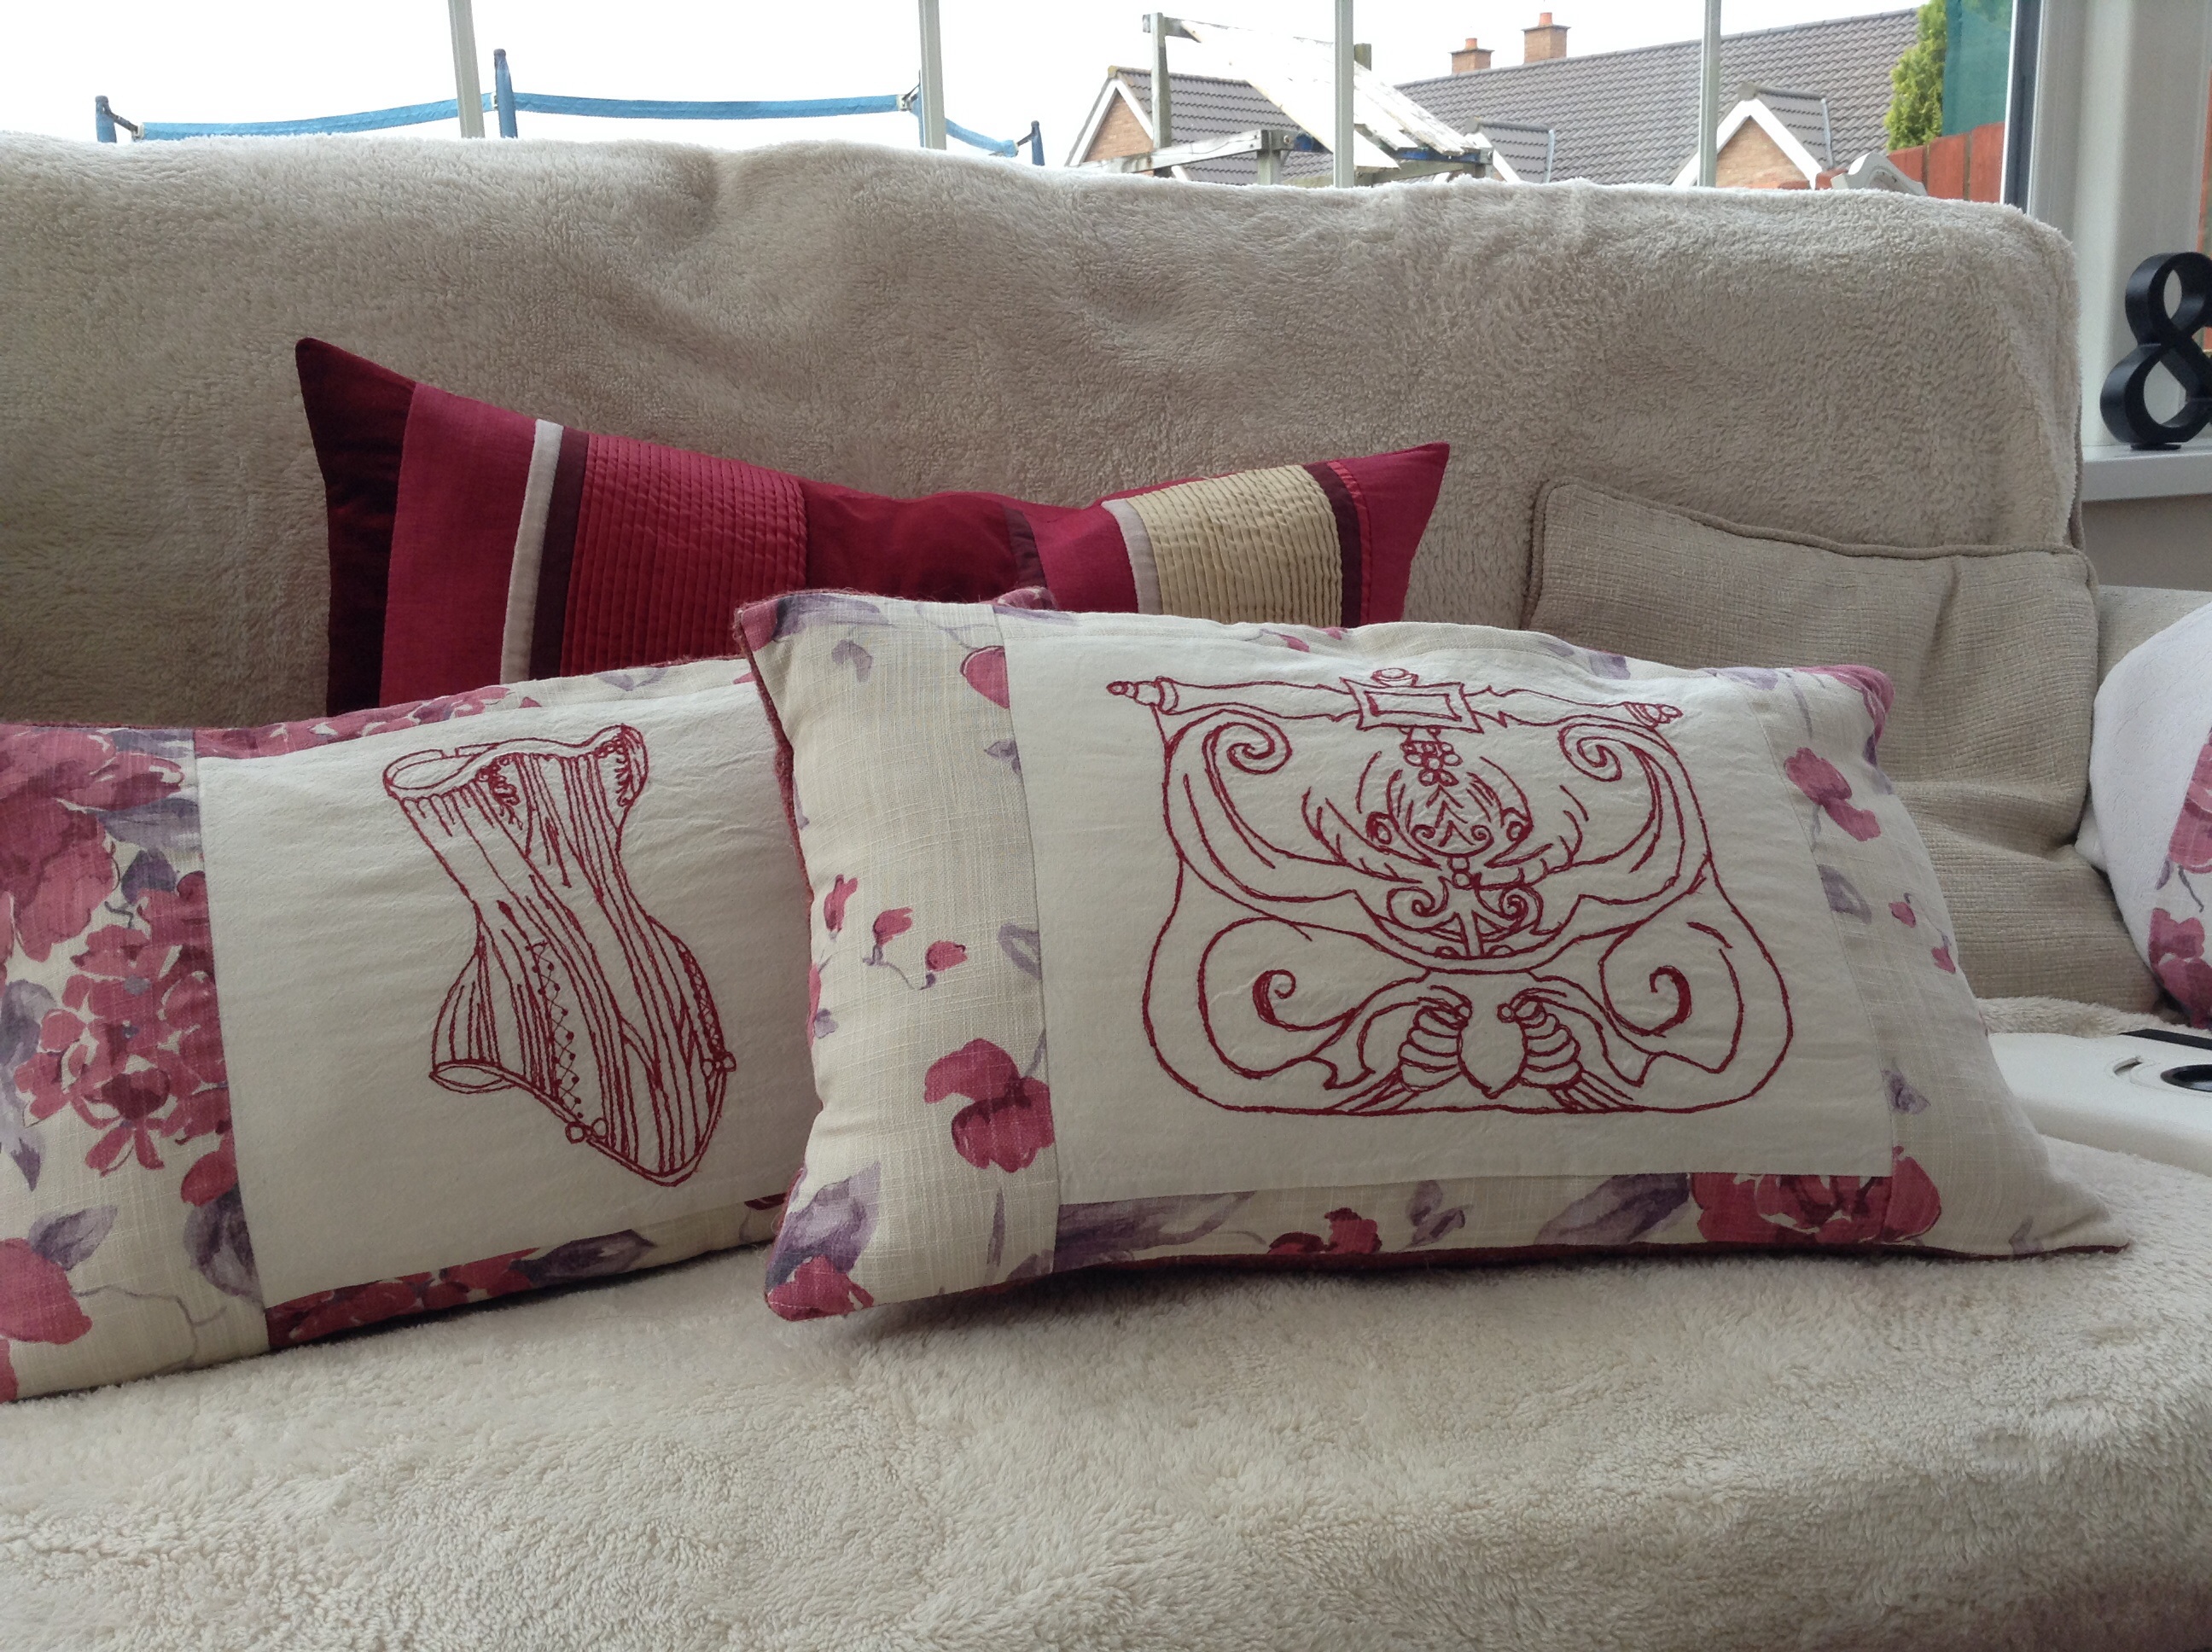
Two cute free motion embroidery pillows for the sunroom
i think they look great and those friction pens are great for drawing on the fabric first before the thread work begins
Each of these pillow covers took about 3 hours to make but I love them. I can do a tutorial on this if I get enough comments
